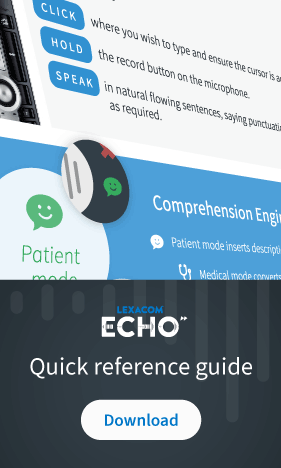
Lexacom Live allows users to record live sessions, and process the transcription using Comprehension Engine®.
To use Lexacom Live:
Navigate to the Lexacom Live tab.
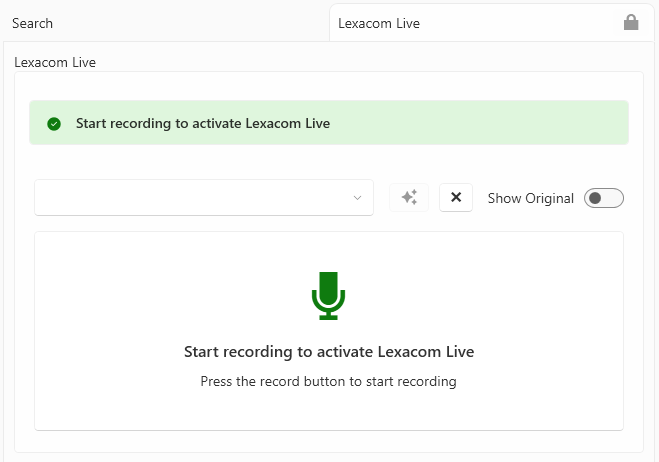
Lexacom Live will look like this:
1. Recording
Begin recording. You can start recording in any way you normally do, using:
The on-screen button on the application bar
The recording shortcut (Ctrl+Alt+Up)
Your recording hotkey, or
A supported device button (if recording long sessions, you may wish to ensure that your Record button preference is not set to Hold the button to record.)
When you are on the Lexacom Live tab, the Echo control on your application bar will show this symbol:
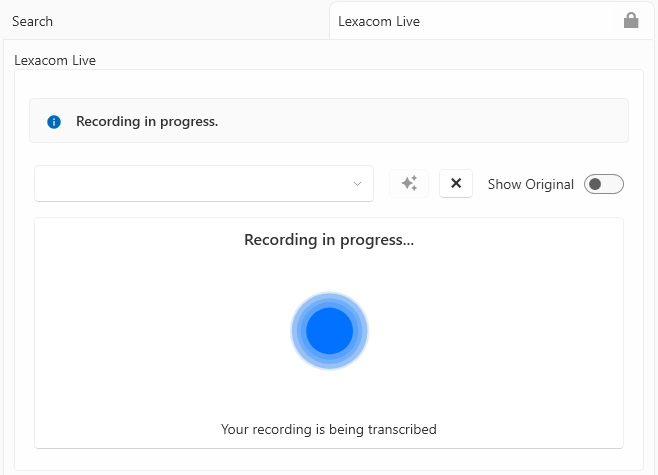
Whilst recording, you will be locked on the Lexacom Live tab – you will not be able to navigate to other tabs. Lexacom Live will look like this:
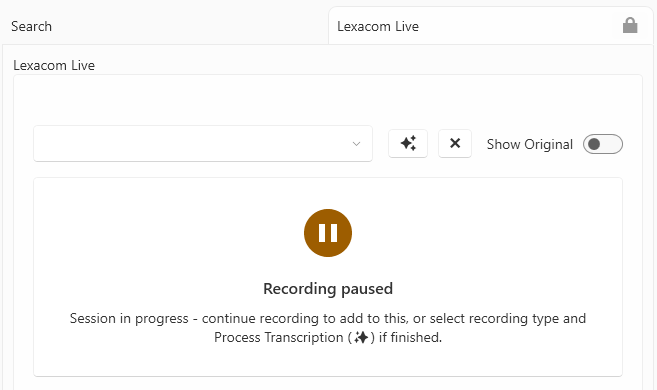
You may stop and start your recording as much as you like. When you have paused recording, you can start recording to add to the current session, or process the session you have recorded.
Lexacom Live requires a minimum amount of recording before Comprehension Engine® can process a session (approximately 50 words). If you have not recorded enough, Lexacom Live will look like this:
2. Processing
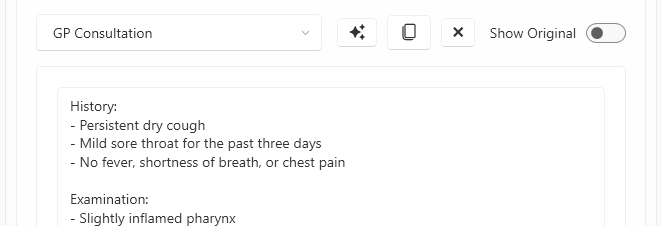
Once you have finished recording, select your Lexacom Live session template from the drop-down list. Your available session templates will depend on your Team.
Click the Process Transcription button.
The formatted transcription will appear below, like this:
You can edit and amend this as you need.
Click the Copy button to copy the formatted transcription to your clipboard.
You may process your transcription any number of times with different session templates. Select the new session template, and click Process Transcription.
If you have made changes to the formatted transcription, these will not be retained when reprocessing.
You can record addtional transcription to your current session, and process again, as many times as required.
3. Completion
Once you have completed your session, ensure that any formatted transcriptions have been copied and saved.
Click the Clear button to clear your current session. Note: this action cannot be undone. Original or processed transcription is not retained once you have cleared the session.
You may then begin recording another session, work on workflow jobs, or use Echo Live to record transcription into other applications.
Original Transcription
If required, you can view the original, unformatted transcription that has been recorded. Click the Show Original switch to show this.
You can edit this – for example, to correct a spelling or transcription error. These changes will be retained and apply each time you process the transcription .
Note: If you erase the orginal transcription, this cannot be undone.
Note
If you have a job open and begin recording, your recording will be appended to the audio dictation on the open job. This audio will not be processed by Lexacom Live.